Portfolio Staging
Portfolio Staging acts as an inbox between your brokerage accounts and your tracked portfolio. Every holding or transaction that FITools imports from a connected brokerage lands here first, giving you full control over what enters your portfolio records. You can also add trades manually if your broker is not supported or you prefer to enter them by hand.
You can reach the staging inbox from the main navigation at Portfolio > Staging, or directly at /portfolio/staging. Brokerage connections are managed at Account > Linked Accounts (/account/linked-accounts).
Connecting a brokerage account
Section titled “Connecting a brokerage account”Before anything appears in the staging inbox, you need to link at least one brokerage account. Go to Account > Linked Accounts to manage your connections.
When you arrive on the Linked Accounts page, you see a card titled Connected Brokerages with a description explaining that linking your brokerage accounts enables automatic imports. If you have no accounts connected yet, a prompt invites you to get started.
- Click Connect Account.
- A Plaid Link modal opens in a secure window. Select your brokerage from the institution list, then sign in with your brokerage credentials.
- Grant FITools read-only access to your investment accounts. Plaid never shares your login credentials with FITools.
- After a successful connection, the page refreshes and your institution appears in the Connected Brokerages list with its individual investment accounts.
Once connected, each institution shows its name, a Refresh button to trigger an on-demand data pull, and a Disconnect button to remove the connection. Below the institution header, each investment account is displayed as a card showing the account name, last four digits of the account number, account type (e.g., taxable, IRA), and current balance.
Re-authenticating a connection
Section titled “Re-authenticating a connection”If your brokerage session expires or your credentials change, the account status changes to login_required and a red banner appears prompting you to re-authenticate. Click Re-connect on the banner to open Plaid Link in update mode. After you sign in again, the connection is restored and data syncing resumes.
Disconnecting a brokerage
Section titled “Disconnecting a brokerage”To remove a connection, click Disconnect next to the institution name. A confirmation dialog warns that removing access will stop future data imports. Historical data that you have already confirmed into your portfolio is preserved — only the live connection is severed.
Reviewing staged transactions
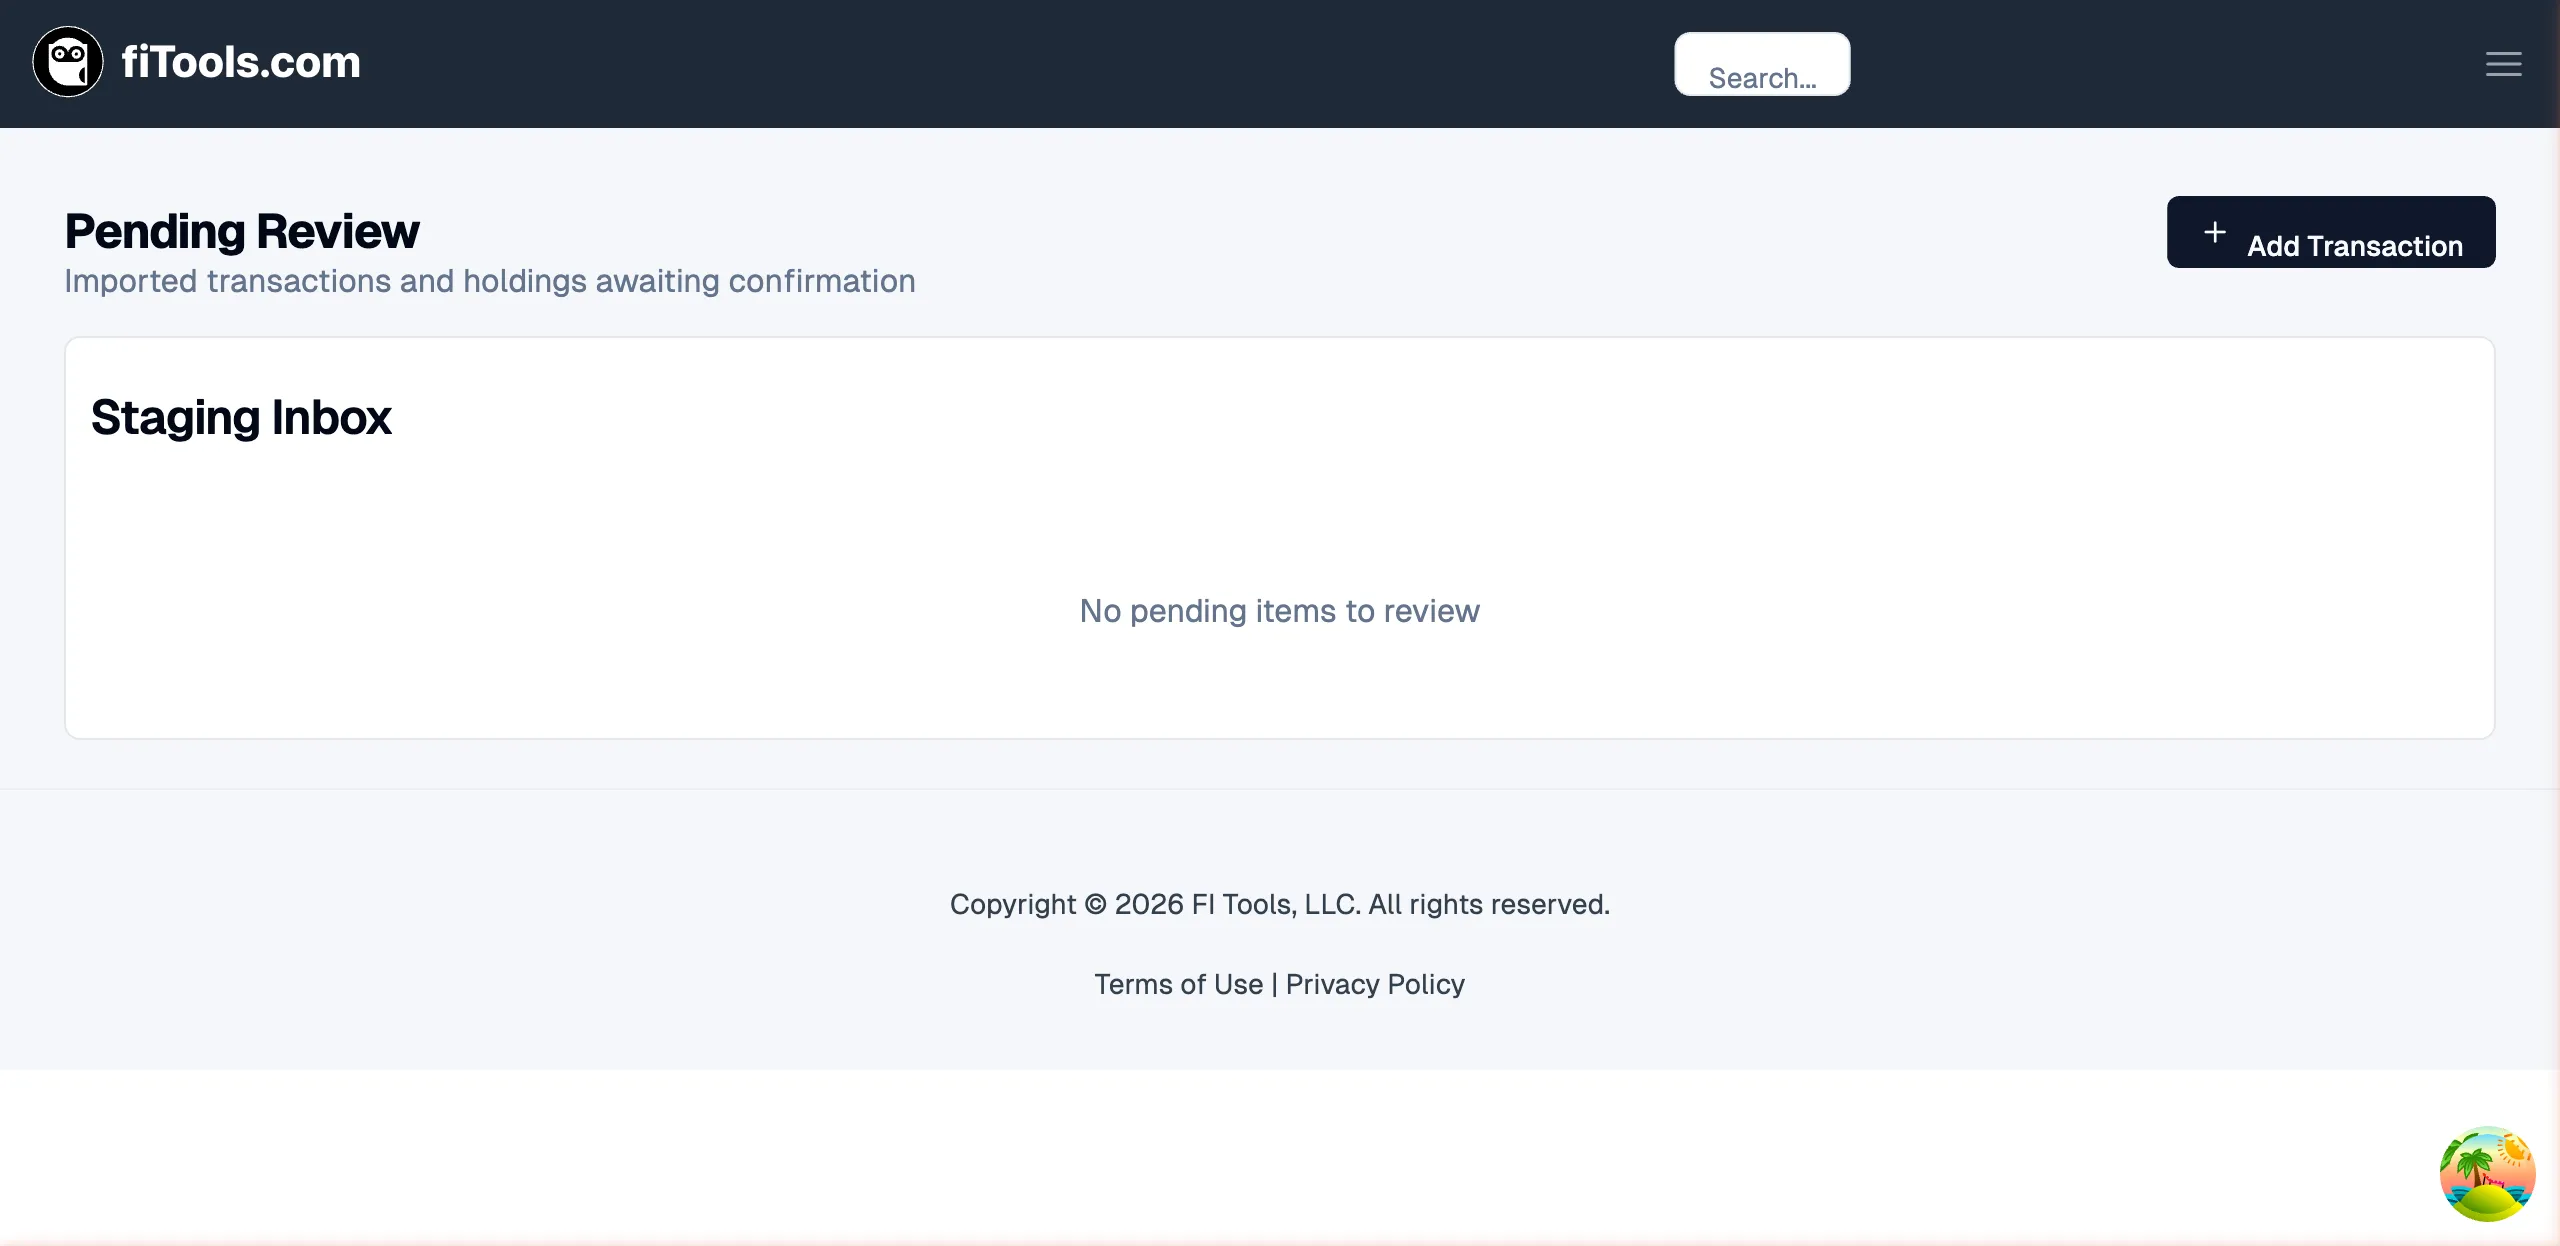
Section titled “Reviewing staged transactions”After your brokerage is connected and FITools imports your holdings, pending items appear in the Staging Inbox at /portfolio/staging. The page header reads Pending Review with the subtitle “Imported transactions and holdings awaiting confirmation.”
Each row in the staging table displays:
| Column | What it shows |
|---|---|
| Security | The ticker symbol of the security (e.g., AAPL, SPY) |
| Type | The kind of record — such as “holding”, “sell to open”, or “buy to close” |
| Quantity | Number of shares or contracts |
| Account | The last eight characters of the linked account ID |
| Confidence | A color-coded badge showing the match confidence — high (green), medium (yellow), low (red), or unscored (gray) — with a percentage score when available |
| Actions | Confirm (checkmark) and Reject (X) buttons for the individual row |
Confidence filter
Section titled “Confidence filter”A dropdown at the top left of the table lets you filter rows by confidence level. Choose All, High, Medium, or Low. The count next to each option tells you how many items match that bucket. Use this to quickly isolate high-confidence imports that are safe to approve in bulk.
Approving and rejecting items
Section titled “Approving and rejecting items”You have two ways to act on staged items: one at a time, or in bulk.
Individual actions
Section titled “Individual actions”Each row has a green checkmark button to confirm and a red X button to reject. Click the checkmark to promote the item into your tracked portfolio. Click the X to discard it from the queue.
Bulk actions
Section titled “Bulk actions”Use the checkboxes on the left side of each row to select multiple items. A select-all checkbox in the table header toggles all visible rows. When no items are selected, the action bar offers two quick-select buttons:
- Select all visible — checks every row currently shown.
- Select high-confidence visible — checks only rows with a high confidence score.
Once you have a selection, the action bar changes to show:
- A summary of how many items are selected, broken down by confidence bucket (e.g., “3 selected — 2 high, 1 medium”).
- Confirm selected — promotes all selected items into your portfolio. If any non-high-confidence items are included, a confirmation dialog appears listing the breakdown and asking you to proceed.
- Reject selected — opens a dialog where you can optionally enter a reason before removing the selected items from the queue.
- Clear — deselects all rows.
Confirmed items are promoted into your portfolio records. Rejected items are removed from the staging queue. In both cases, the inbox refreshes automatically after the operation completes.
Adding trades manually
Section titled “Adding trades manually”You do not need a brokerage connection to track trades. Click the Add Transaction button in the top-right corner of the staging page to open the manual trade entry dialog.
Entry modes
Section titled “Entry modes”The dialog supports two entry modes, toggled via tabs at the top:
- Parse — paste a free-text trade description (e.g., copied from a broker confirmation or chat message). FITools uses an AI parser to extract the ticker, action, quantity, price, date, and option details. Warnings appear if the parser is uncertain about any field.
- Structured — fill in the fields directly using a form. Choose the action type (Sell to Open, Buy to Close, Buy, or Sell), enter the ticker, quantity, price, and trade date. For option trades, additional fields appear for strike price, expiration date, option type (call/put), direction (long/short), and OCC option code.
Trade flow steps
Section titled “Trade flow steps”- Account selection — if you have not set up a manual tracking account yet, the dialog walks you through creating one. If you have a single account, it is auto-selected. With multiple accounts, you choose which one to log the trade against.
- Trade entry — enter your trade using either parse or structured mode.
- Shares step (covered calls only) — when you sell to open a short covered call and the trade bypasses staging, the dialog asks about your underlying shares: quantity, cost basis, and acquisition date.
- Success — a confirmation screen shows the parsed trade details, a confidence score, and a link to the staging inbox where the item awaits your review.
Related pages
Section titled “Related pages”- Dashboard — overview of portfolio tracking features
- Options Screener — find high-quality option contracts to trade
- How Cash-Secured Puts Work — understand the CSP strategy before logging put trades